Glue Tabs That Everyone’s Dent Repair Kit Must Include
« PDR Glue Pulling Tools for the Newbie PDR Technician
18 July 2013
A little background about this article: We at The Dent Shop have decided to write a full article on glue tabs. For a few weeks now, we have been scouting for some decent articles about tabs and unfortunately we have not found any; hence this article. To begin with, we know that most of you are already seasoned PDR techies who have been doing this for years! We get that and we appreciate the fact that many have been successful in this industry for a long time. However, for the benefit of those who are starting-up (who relentlessly suggest topics for our blog), this one is for you.
I Already Have PDR Tools, Now What?
It's common knowledge that glue tabs come in different shapes and sizes. To ensure the quality of the work you do, it is very important to have all glue tab sizes and shapes in stock all the time, before beginning with any work (big or small). Remember, the number 1 rule here, is to use the appropriate size and shape of glue tabs in reference to the size and orientation of the dent or crease that you are going to fix.
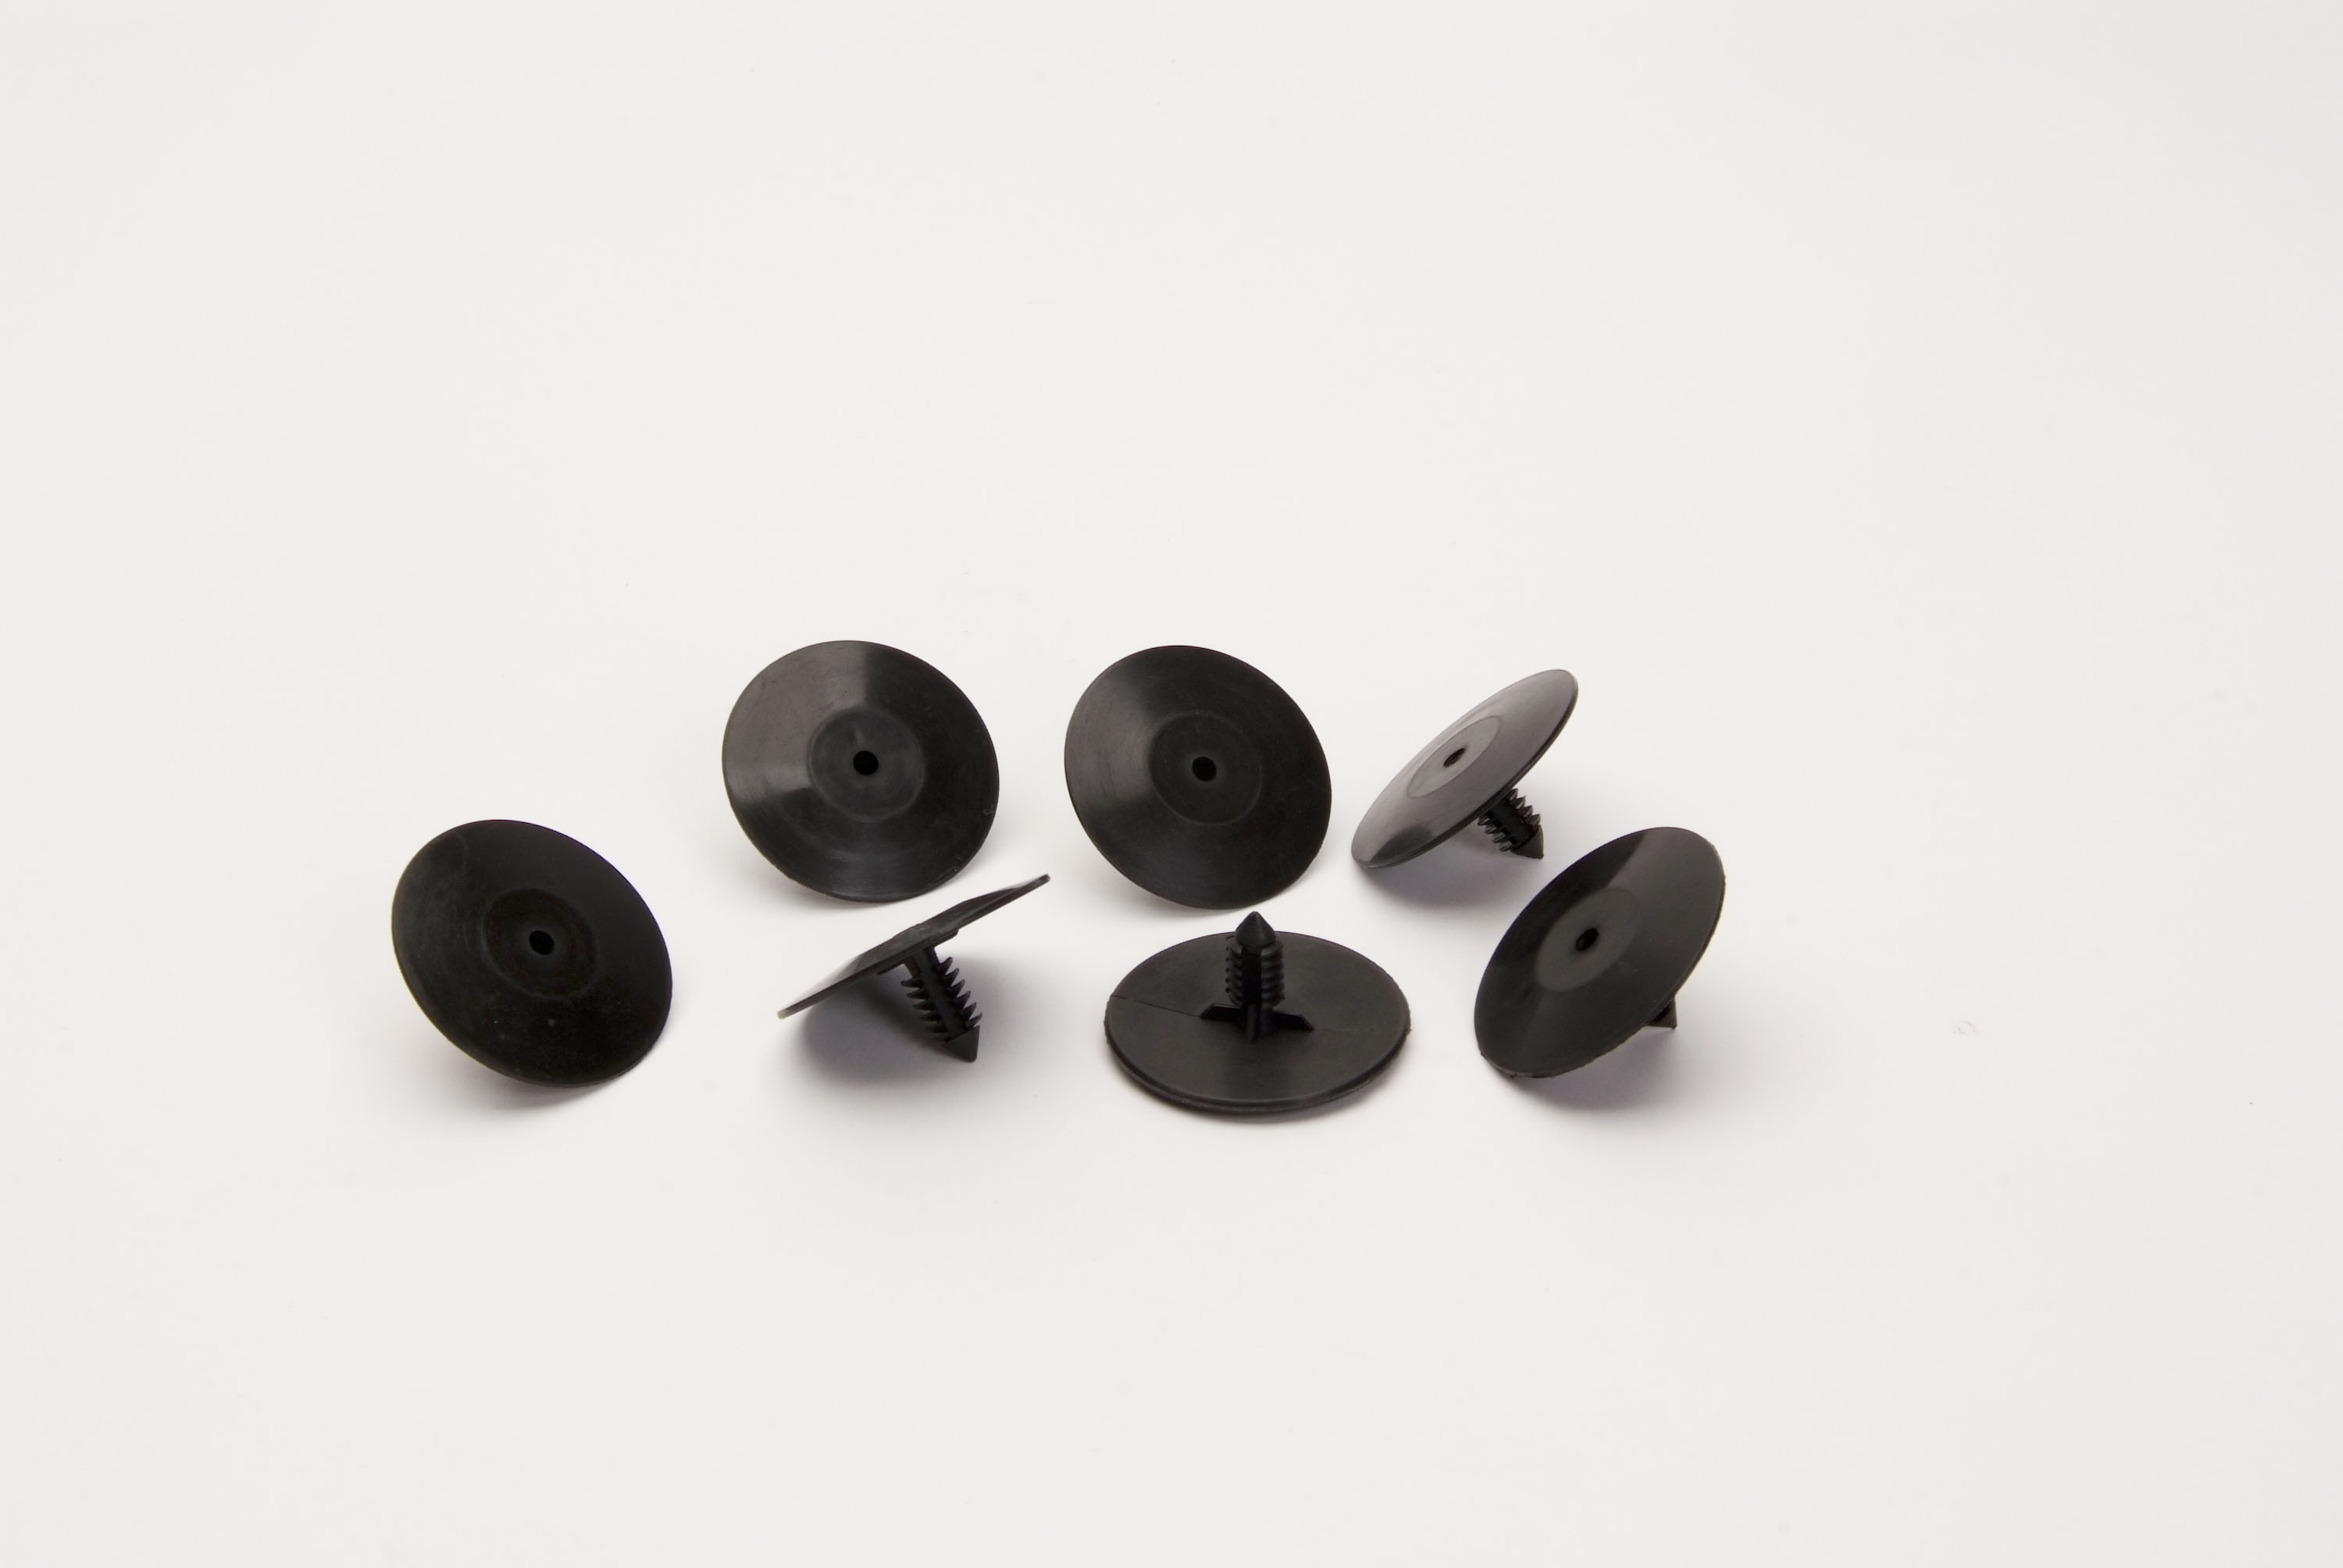
As an example, if you are fixing a dent comparable to the size of a dime (20mm long), it is best to use the smaller ½" or 17mm circular glue tabs, such as is shown in the picture below.
Alternatively, if you are trying to fix a shallow crease or dent that is of a bigger size, it is important that you use the size and shape that most closely fits inside the said crease or dent. You will find there are several glue tabs that come in different shapes and sizes, like: 21mm, 27mm, 34mm and larger. These tabs come in a variety of shapes from circular, elongated circle or oval, square, rectangular and many more. When choosing your glue tab, pay close attention to the size, orientation and shape of the crease or dent you are about to fix. Being a little critical about this goes a long way, so it's okay to take your time. After choosing the right glue tab to use, you'll have to decide which glue colour to use. To help you out with this, click on this article link and read on how you can go about selecting the right glue stick to use in addition to even more information on how to go about choosing the right tabs for your paintless dent repair work.
Warning
For the past several years that we have been in the PDR business, we have encountered a lot of PDR techies that have been the victim of many “online sellers” in many different online-selling platforms like ebay, alibaba, amazon etc. These said PDR online sellers sold to unsuspecting PDR technicians, low quality, easy to break PDR tools and accessories, such as glue tabs and glue pullers. In many cases, the use of these LOW quality tools and accessories have caused more damage than good and often break on first use, or not long after. The Dent Shop has actually been approached by some of these sub-par companies offering to make our tools and accessories, but our slogan is what we live by and, quality is what we are known for. So, for the benefit of our readers, we would like to remind everyone to only BUY from reputable PDR tool and training providers like The Dent Shop Australia. In any case, if you encounter any unlicensed online sellers selling The Dent Shop branded PDR tools and accessories please contact us right away at sales@thedentshop.com.au. To shop for HIGH QUALITY, effective and exclusive PDR tools, head to our online store now!
Correct Glue and Glue Tab Application
We have received numerous questions and enquiries about the correct glue and glue tab application. To answer all of your questions (please keep them coming, we love your questions and feedback), here is a quick walk through with actual pictures from our training system called Perfect-A-Dent.
If you are planning to “pull” a dent back to its original place, it is very important that you use the correct PDR tools, glue and glue tab corresponding to the current temperature, size, shape and orientation of the dent or the crease that you are trying to fix.
-
To ensure your success, you'll have to examine the dent or crease that you are about to fix. Make sure that your light source is in the correct position as this will allow you to see the dent or crease in the best possible view and repair it properly.
-
Using a high quality glue gun, heat the glue appropriately. Apply the hot glue to the tab that you have selected beforehand. When applying the glue, make sure that the amount you apply is not too thin and not too thick. It needs to be a good dollop that it is in the center of the tab but not too much that the glue goes all the way to the outside edge of the tab.
Note: Although heating the glue in high temperature is crucial, it is best to apply the glue tab with heated glue on the dent once the glue cools off a little bit (around 5-10 seconds). This will reduce the chance of damaging the vehicle’s paint, but more importantly it will allow the glue to stick correctly to the panel and stay inside the dent; rather than being too runny and then the glue spreading too thinly when you attach the glue tab to the panel.
-
Apply the glue tab with hot glue to the center of the dent. When placing the glue tab, avoid putting too much pressure on the tab. Let the glue harden (usually around 30 seconds to 1 minute). Once hard, connect your slide hammer (or glue puller) to the head of the tab.
-
Pull appropriately depending on the size of the dent and tab. Tip: When initially pulling a dent, start by pulling it without exerting too much pressure. This will allow you to make sure the car’s paint is ok for glue pulling, as well as give you an idea of how much pressure is needed for the dent. It is better to have to pull the dent a few times and get it close to perfect, than to over pull and take off paint, or make a massive high spot! Also, let the weight of the slide hammer do the work for you!
-
Once the dent has been pulled and the tab is released from the vehicle, apply your release agent (methylated spirits works well) on the excess glue either on the tab or the panel and check far it has affected the dent. (i) Dent hasn’t changed – Apply another glue tab in the centre of the dent and try again with a little more force. (ii) Dent has come out a little – Apply another glue tab to the centre of the dent (this may be a different place now or need a different size tab) and pull the dent again, remembering that the force you use may need to vary. (iii) Dent is all the way out – Your dent might be all the way out and perfect; or it might have created a high spot by pulling the dent up a bit too high. If it’s perfect, that is great news!! If it is too high, you will need to use you tapper and soft knockdown hammer to tap the high points down a little… Of course be careful not to hit it too hard or you will have to start again.
Do you want to learn or improve your Paintless Dent Repair techniques from the comforts of your own home? In the next few weeks, we will launch the first ever concise no BS Dent repair training system called Perfect-A-Dent. This is your chance to order the PDR training system that has launched the careers of a number of dent masters in Australia and across the world. Become a money-making machine yourself and get heaps of freebies when you preorder the training system. Visit the official website of Perfect-A-Dent today and sign up!
Related tags: dent removal tools Australia, dent repair kit, Glue tabs, PDR Tools